1,2,3,4,5
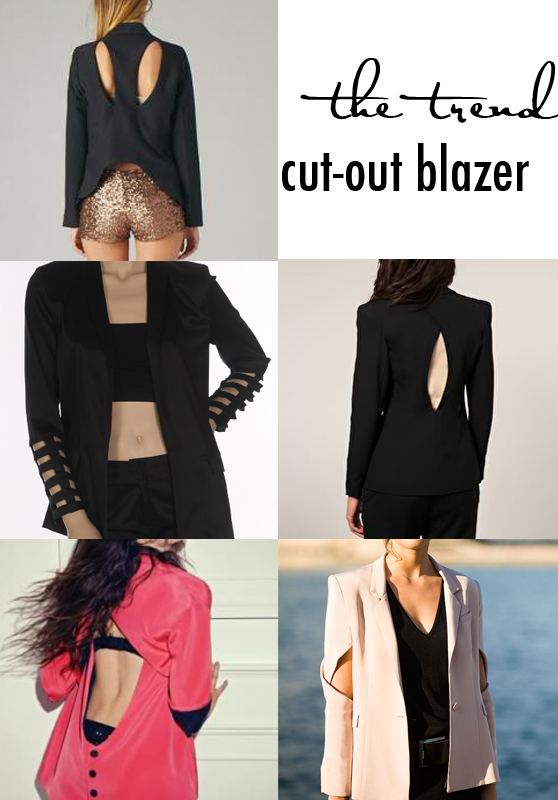
The options really are endless and this is such a great idea for transitioning your wardrobe into spring! You’re ready to show some skin but still need a barrier between that cool breeze. Give the cut-out blazer a try its quick, easy and you don’t need any sewing experience. Once you get the hang of it I imagine the possibilities are limitless!
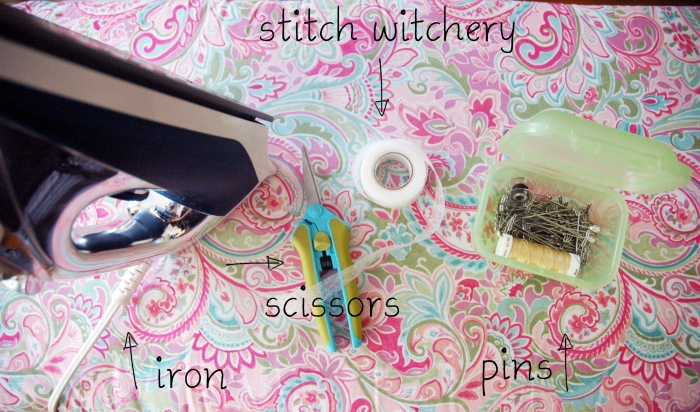
What you’ll need:
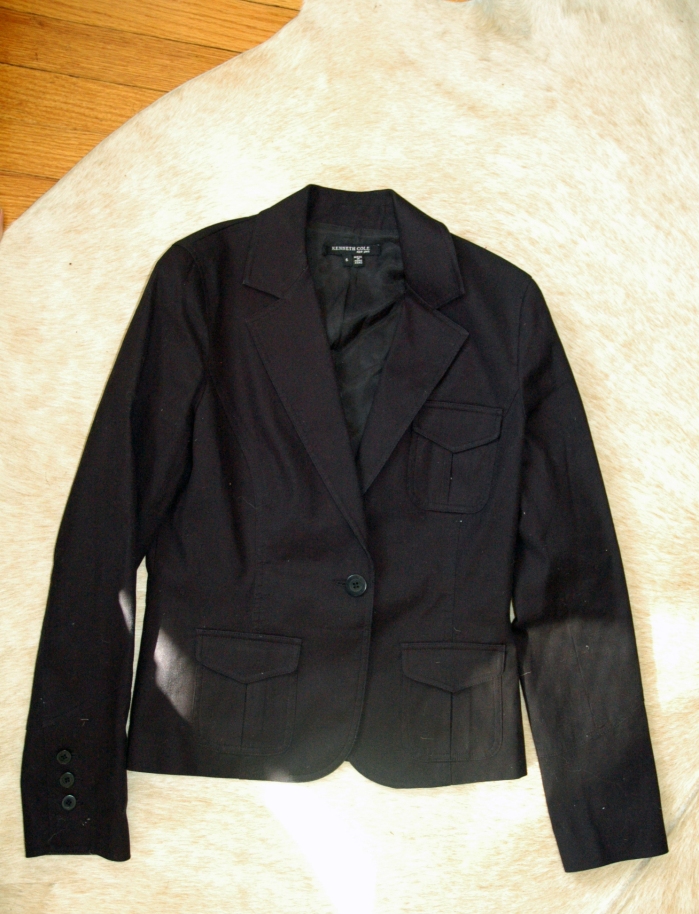
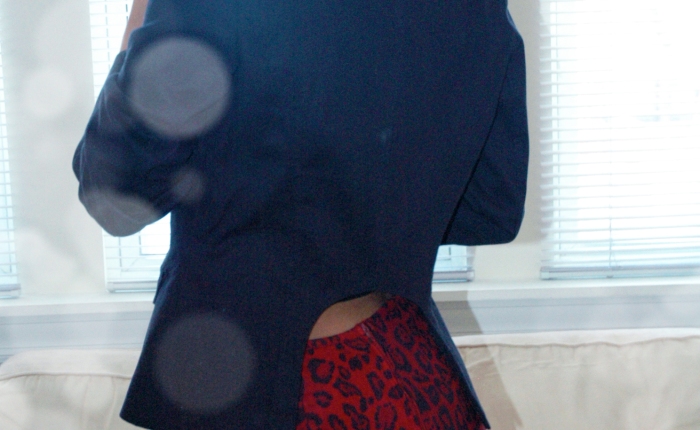
I got my jacket from the thrift store, I had been on the search for the right one for a while now. It needed to meet a couple criteria, it had to have a close fit, be structured and be made of a good quality fabric. This Kenneth Cole one was just right and it was only a couple bucks! Woot! 🙂
Plus I loved the slight military influence and the three pockets.
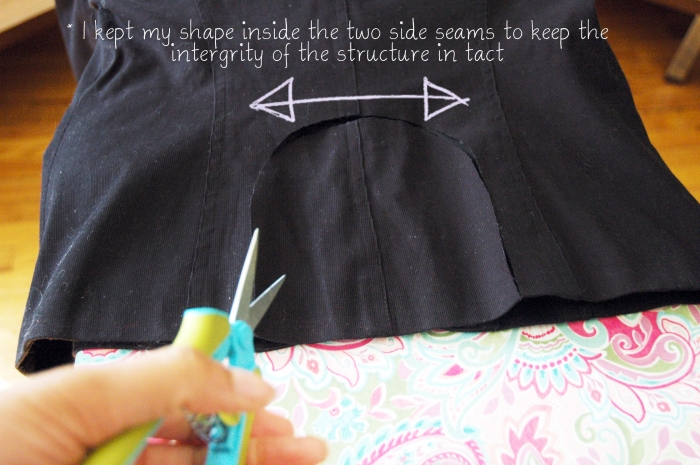
First decide the shape of your cut out. You can do an upside down “u” or “v” or even a square, just to name a few ideas. I cut my shape out by eyeballing it but you can use chalk to mark yours. It will wash out when your done and you can tweak your shape as you go. Cut your shape a quarter inch smaller then what you want the finished size to be so you have enough fabric to fold under.
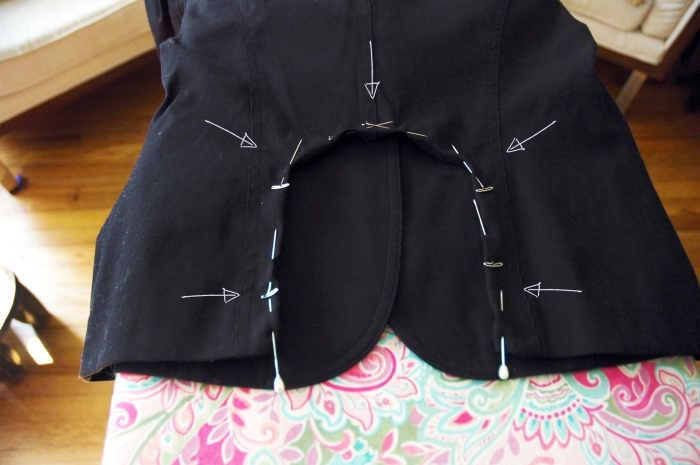
Fold under and pin!
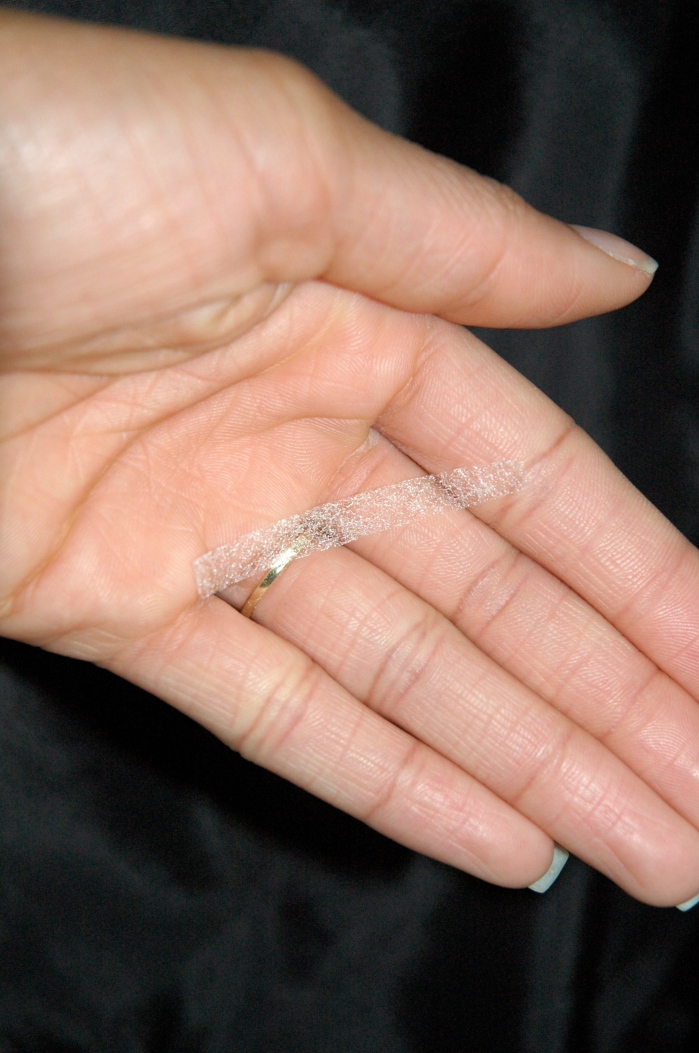
Cut your stitch witchery in half the long way and then cut shorter strips.
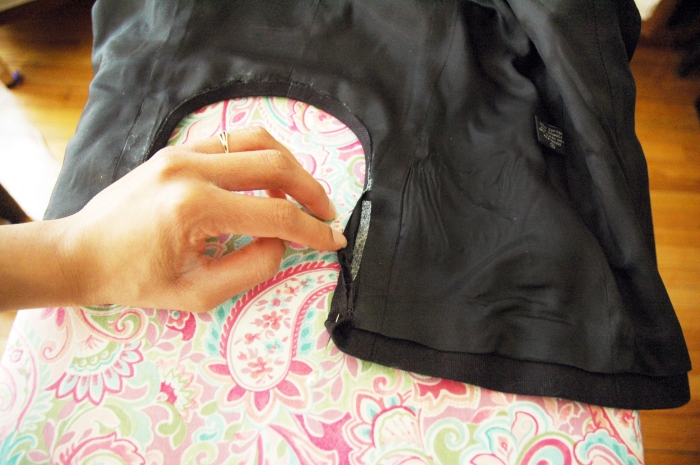
Remove one pin at a time, place your stitch witchery and iron. Using steam helps melt the stitch witchery and bond the fabric together.

Since my jacket is lined I placed some stitch witchery first between the initial fold then again between the lining and the fabric of the jacket. Sewing a stitch for extra security after you’ve placed your stitch witchery is also an option, or if you feel more comfortable with a sewing machine from the jump that works too! 🙂

Hope you enjoyed this DIY! Any questions or comments? Holla at me in the comments below!


